Invoicing settings impact a specific entity and all customers invoices linked to it.Documentation Index
Fetch the complete documentation index at: https://docs.getlago.com/llms.txt
Use this file to discover all available pages before exploring further.
Add information about your entity
You can modify some of the elements that are included in the PDF invoice, such as information about the entity, its logo and footer. To update your entity’s information and logo:- Click “Settings” in the side menu;
- In the Billing entity > General information section, click “Edit” in the “Information” block;
- Choose a file to update the logo and fill out the form to update your entity’s information; and
- Click “Save edits” to confirm.
For the logo, you can upload a JPG or PNG file with a maximum size of 800 KB.
Add a custom invoice section
A custom invoice section is an additional section displayed above the custom footer on an invoice. It allows you to set a title and include specific details (e.g. bank details). Custom invoice sections can be applied at the billing entity level, impacting all customer invoices attached to it, or set per customer for greater granularity. To create an invoice custom section:- Click “Settings” in the side menu;
- Open the “Invoice section” tab;
- Click on “Add” in the “Invoice custom section block;
- Provide the necessary details, including the title and content.
- Click Preview to see how the section will appear on an invoice.
- Apply this invoice custom section to a billing entity or a customer.
You can display multiple custom invoice sections on invoices. Note that they will be sorted alphabetically by the custom section name.
- Dashboard
- API
- Click on a specific customer;
- Navigate to the Settings tab;
- Click on Edit in the Invoice custom section;
- Add a specific custom invoice section for the customer; or
- Choose to deactivate the invoice custom section for this customer.
Add a custom footer
A custom footer is a universal footer applied to all invoices and credit notes across all customers. It is typically used to display your company’s legal information or other standard details. If you need granularity per customer, please refer to the custom invoice section above.- Dashboard
- API
To update the footer of the invoice: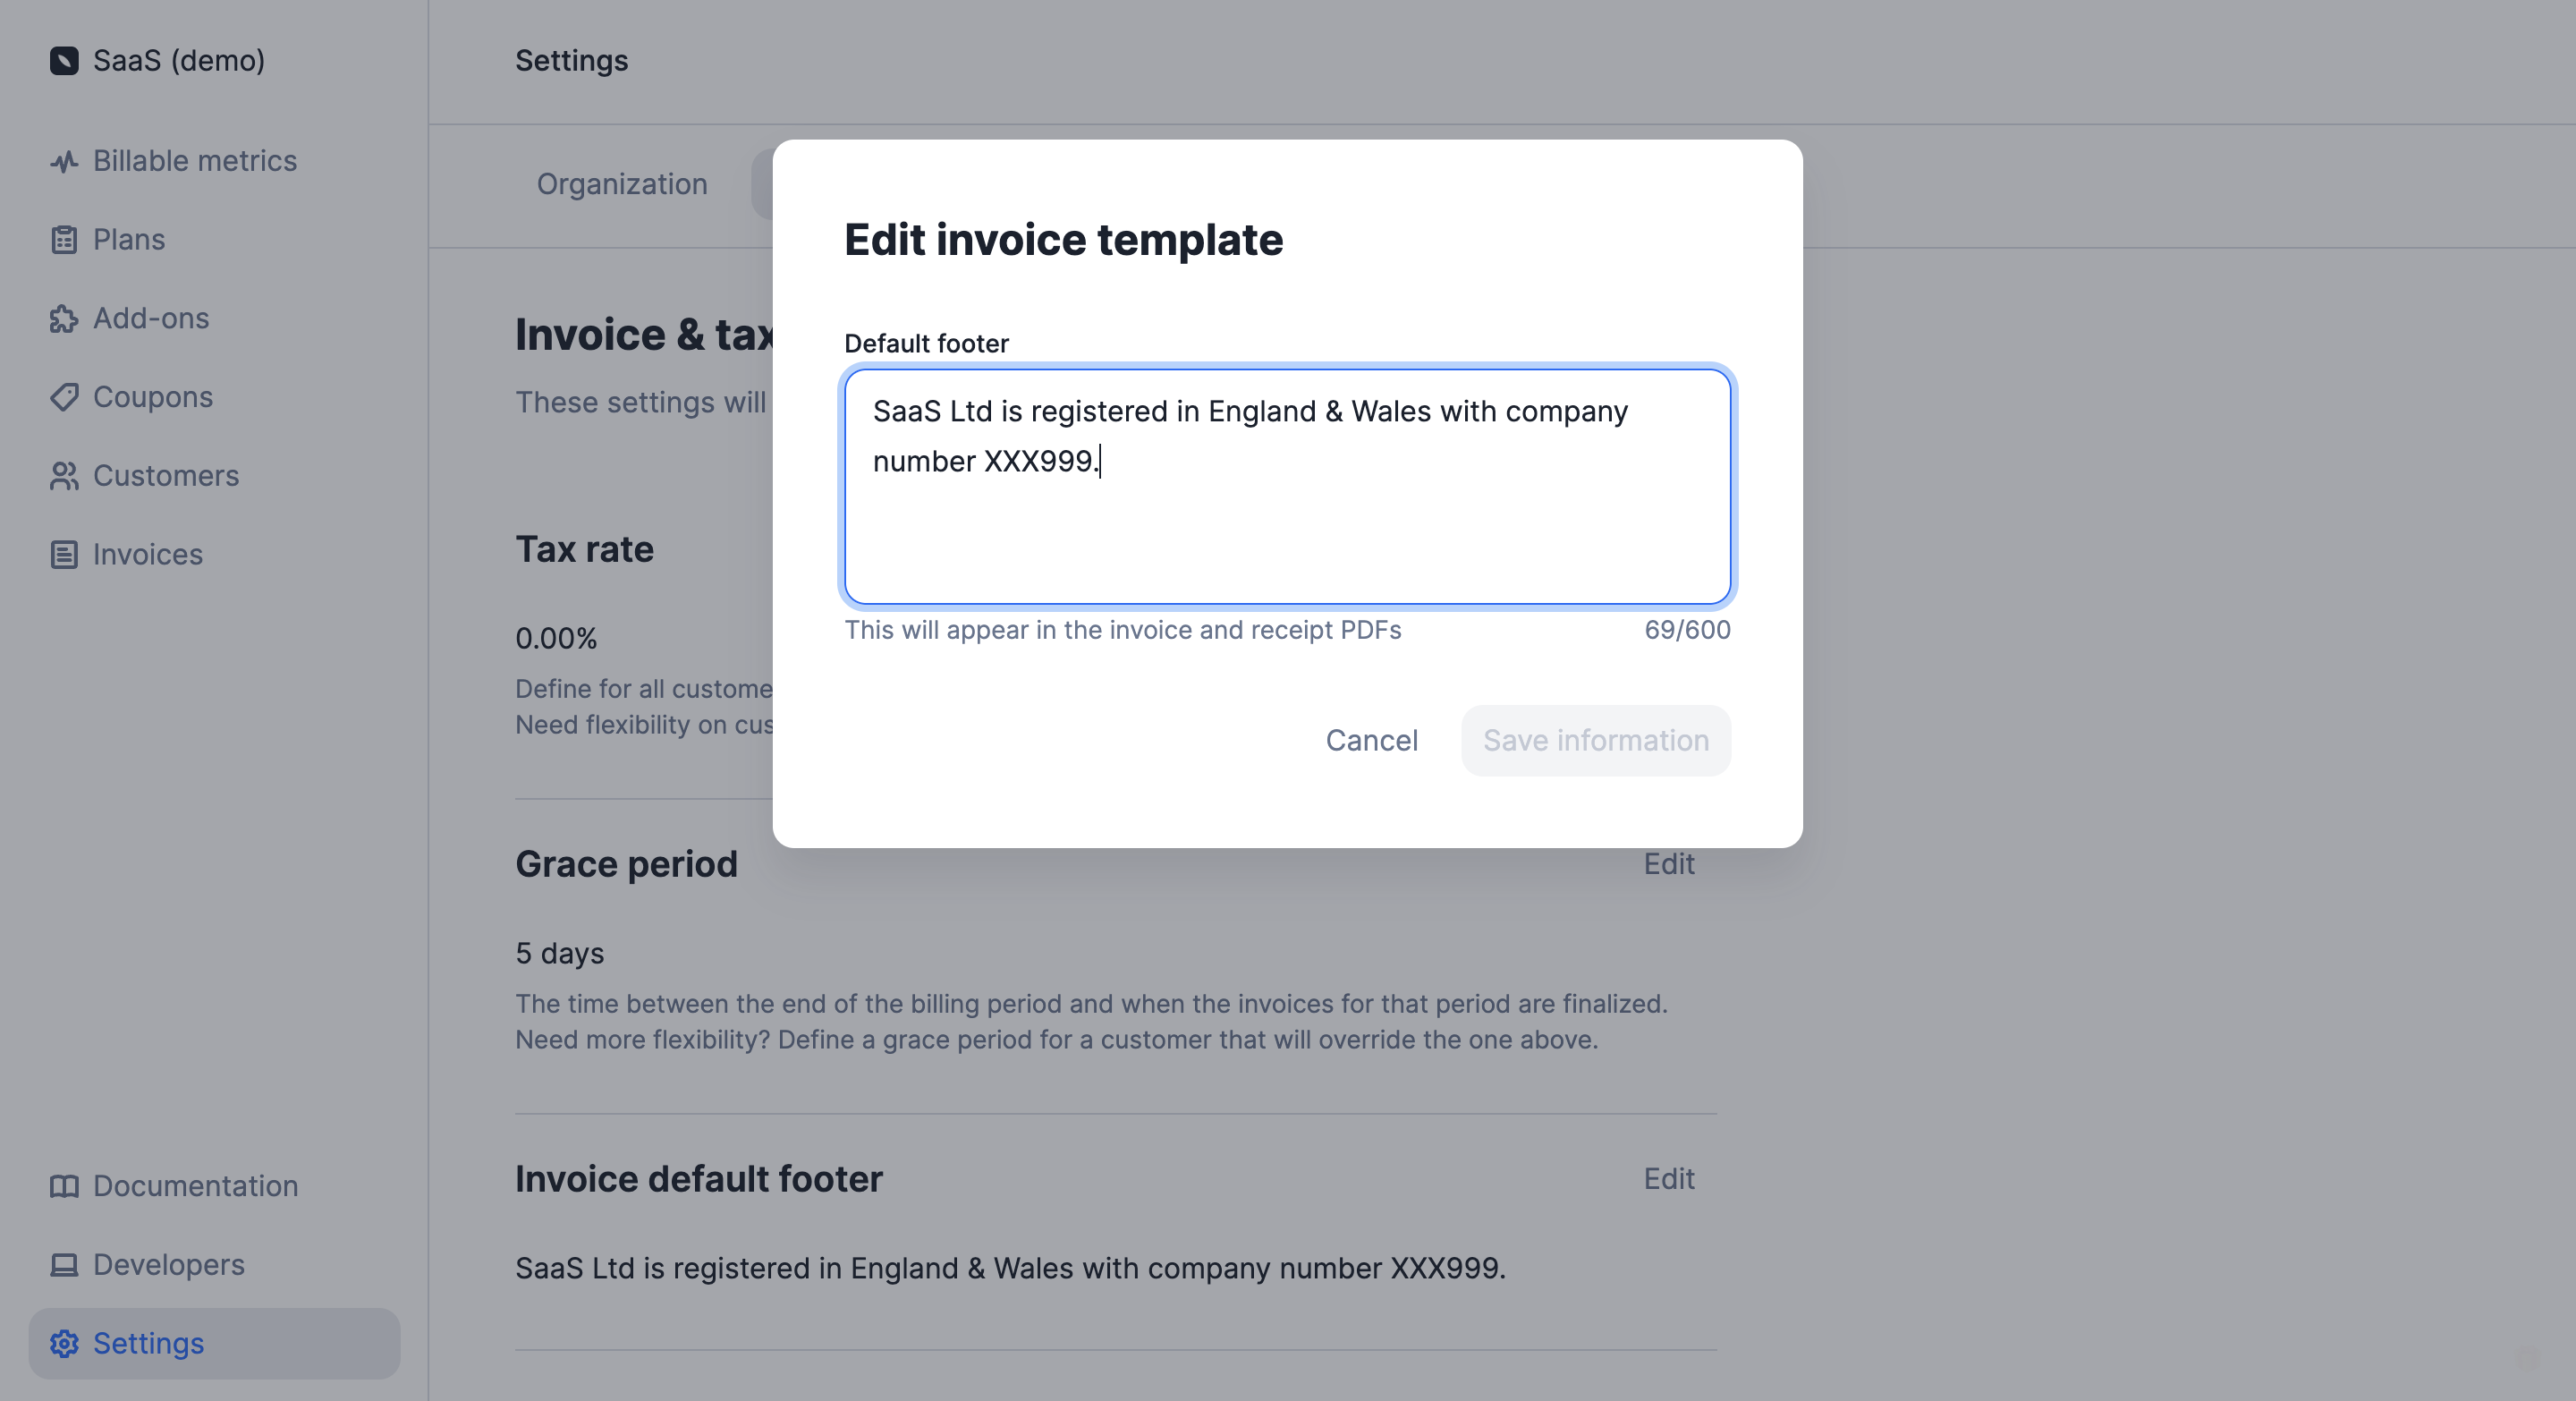
- Click Settings in the side menu;
- Open the Billing entity > Invoicing settings tab;
- Click on Edit in the Invoice default footer block;
- Enter your text (maximum 600 characters); and
- Click Save information to confirm.
Translate invoices
- Dashboard
- API
To set the default language for documents:
- Click “Settings” in the side menu;
- Open the Billing entity > Invoicing settings tab;
- Select “Edit” in the “Document language” block;
- Select your preferred language from the list; and
- Click “Edit language” to confirm.